
The first thing to do with your new Brightpod account is to set up and get familiar with your Settings & Account section.
Set up your personal profile
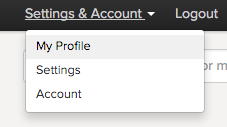
1. Go to Settings & Account and click My profile.
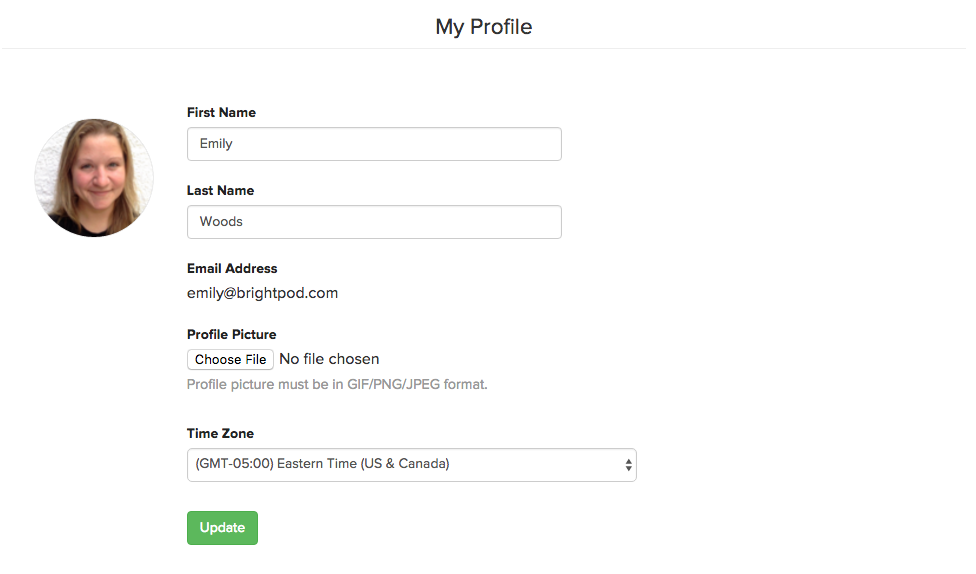
2. Your first and last name is what will show up across your Brightpod account.
3. Your email address is what you registered with. Tip: To change your email address, contact Brightpod Support with your old and new email address and we will change it for you.
3. Upload a profile picture by clicking Choose File. This image will show up whenever you are involved on a pod, task, or conversation. Tip: Any team members you add will also have to upload their own image. You cannot do it on their behalf.
4. Select your timezone. This will affect the timestamp of task comments, task completion, and more.
5. Click Update. When you’re all done, your profile page should look something like this:
There are other customizations available on the right side menu:
- Change Password – Update your password.
- Email Notifications – Stay updated and adjust which email notifications you receive.
- Themes – Change the colour scheme of your Brightpod view.
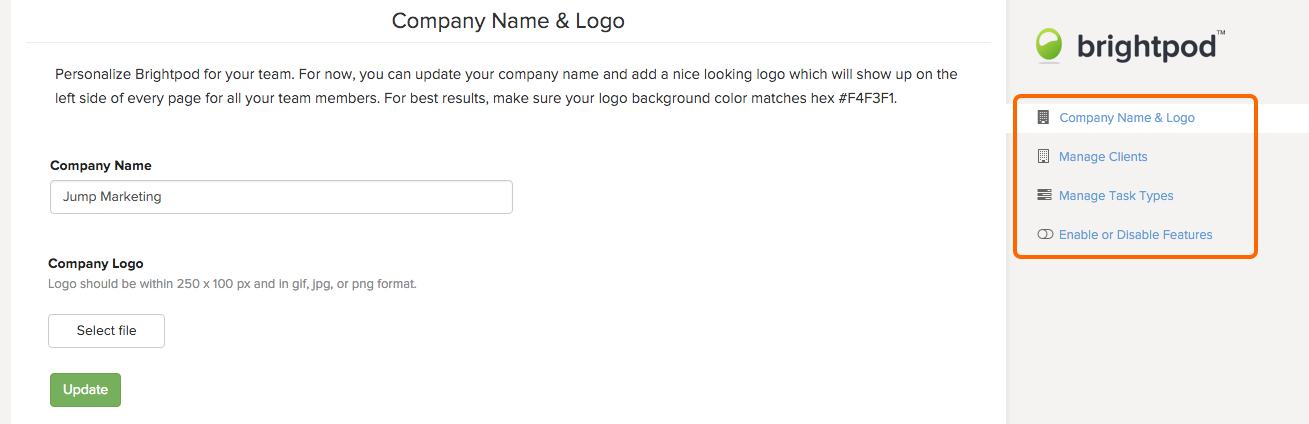
Choose your Brightpod settings
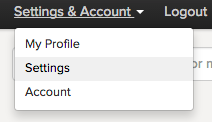
1. Go to Settings & Accounts then click Settings.
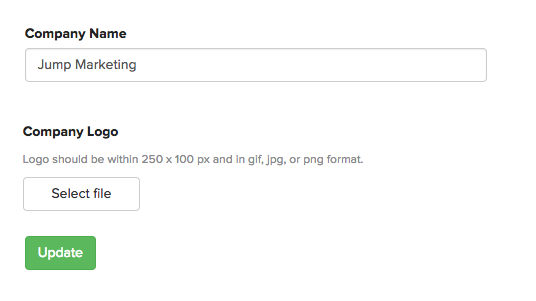
2. Enter your company name and upload a logo by clicking Select file.
3. Click Update.
4. On the right side, you will see the menu options:
- Company Name & Logo – Where you can change your company name and logo at any time.
- Manage Clients – Once you have invited clients to be a part of a project in your Brightpod account, you can edit or remove them.
- Manage Task Types – Task types are labels for your tasks. You can edit task types and add your own.
- Enable or Disable Features – If you choose the Studio plan or above, you can enable or disable Brightpod Time Tracking. Or, if you use Harvest, you can enable tracking time in Brightpod using Harvest.
Set up your subscription plan
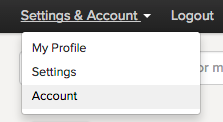
1. Go to Settings & Accounts and click Account.
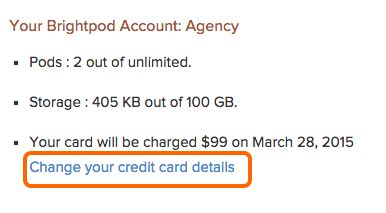
This page shows your:
a) Brightpod subscription and, once you have a paid plan, the place where you can change your credit card details.
b) Discount opportunities. Tip: Brightpod supports non-profits with a discount. Learn more about our non-profit discount!

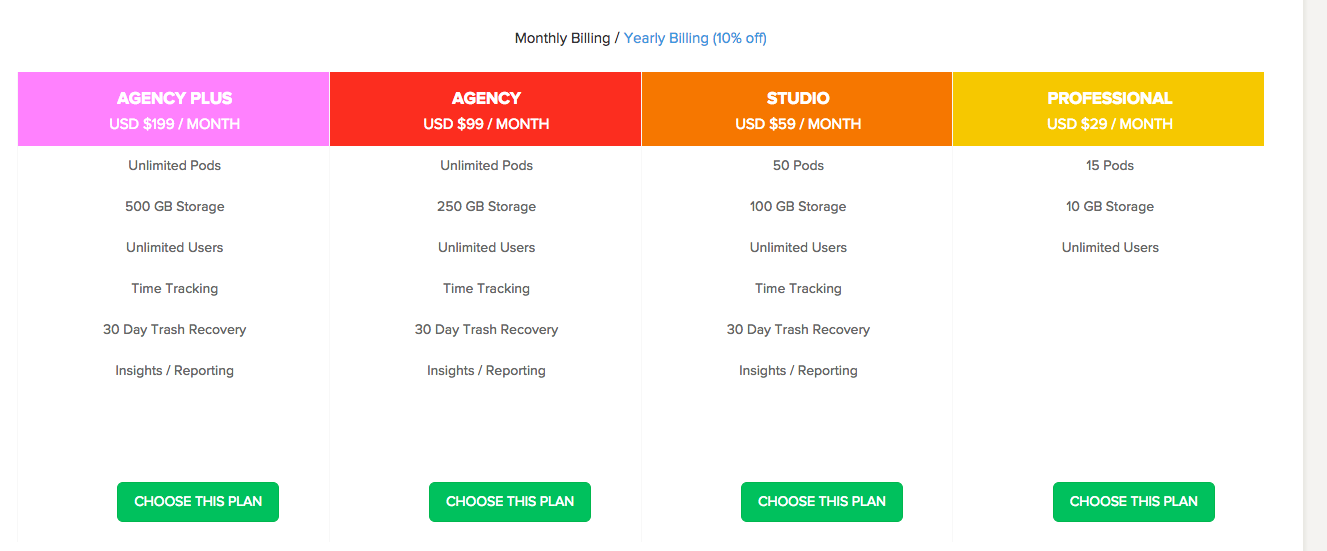
c) Brightpod plan options.
d) The option to close your account.

While getting started, you are on a 14 day trial of the Agency Plan. You will then be downgraded to our free plan which offers 2 Pods, 3 users and 100 MB storage space.
You can subscribe to a plan at any time, even during your free trial. To subscribe,
1. Click Choose this plan for the plan you would like. Tip: By clicking Yearly Billing you can choose a plan for 1 year which also gives you a 10% discount.

2. You will be shown the plan and price you selected. Click Order Now.
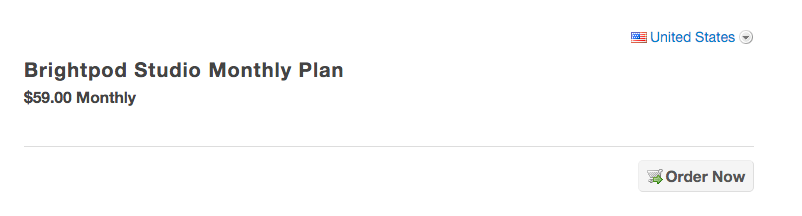
*all prices shown are for example only
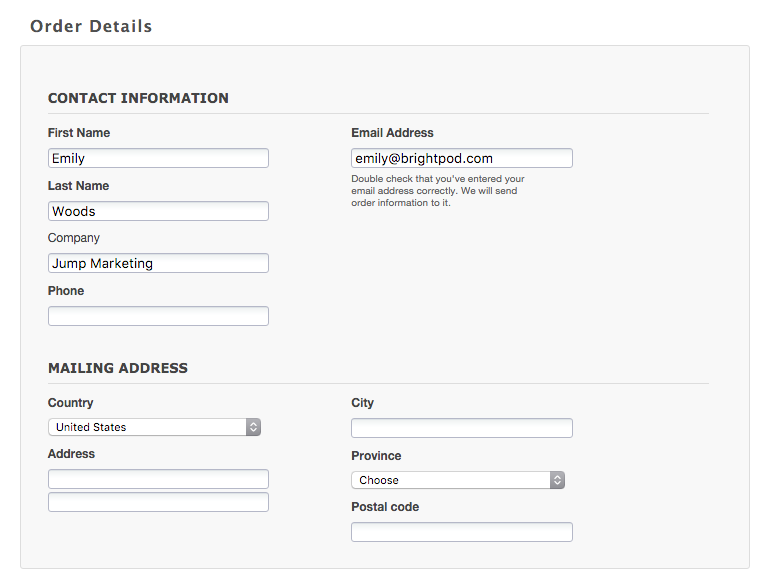
3. Enter your personal details. You must fill out each field in order for the payment to work.
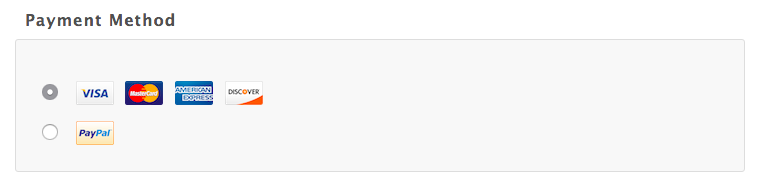
4. Choose your method of payment.
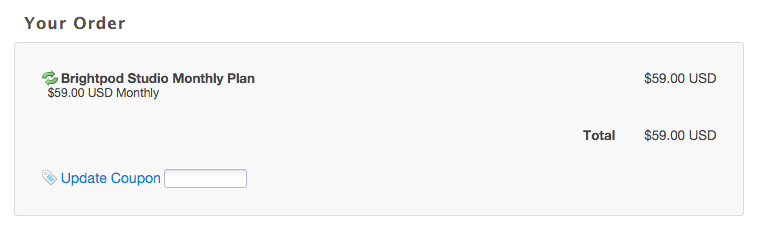
5. If you have a discount code, now is the time to enter it. Note: If you have VAT, you will see a field to enter your VAT ID under the subtotal.
6. Enter your credit card details. Double check they are correct and confirm your credit card billing address. When you’re ready, click Complete Order.
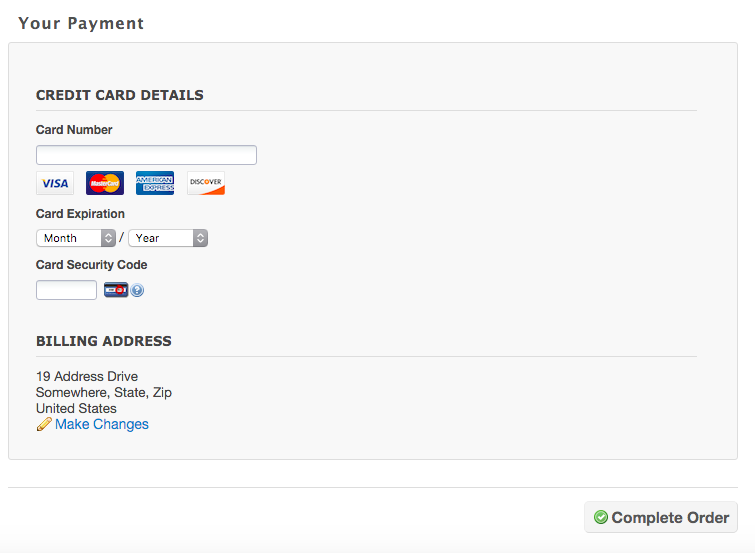
That’s it! You have paid for your Brightpod account and will be redirected back to your account page. You will receive a confirmation email and receipt from both Brightpod and our payment processor.
Now that your Settings and Account are all set up, it’s time to onboard your team!