Organizing projects is easy using pods. Pods are your main project, milestones are goals, and tasks are the items that need to be completed for your project.
Create your first pod
1. Click the orange pod and select
New Pod.

2. Now, you can choose to
Create a Blank Pod or
Create a Pod From a Workflow. In this example, we will be creating a blank Pod which is basically creating a project from scratch.
Tip: If you create your own pod from scratch, you can re-use it for another project at any time by choosing the 'Create a pod from a workflow' option.
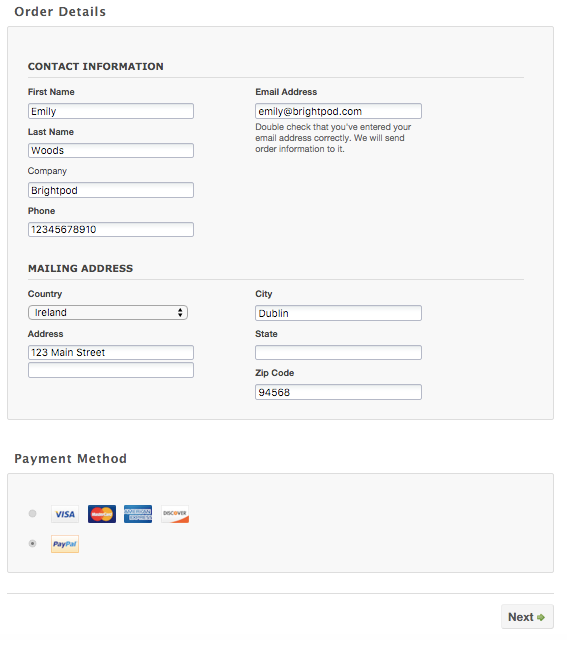
3. Enter all of the information for your new Pod.
-
-
- Pod Name - This will show up across Brightpod as the name of the Pod.
- Start Date & Due Date - Specify when the Pod will start and when/if it is scheduled to end.
- Budgeted Time - Set a total number of hours to be worked on this Pod. This helps you keep track of time spent on the whole project if you are tracking time on tasks.
- Client - Add a new client or select from existing clients.
- Pod Lead - Choose who is the head of the project and be able to add Team members, Task Lists, and Milestones, and manage the Pod.
- Pod Color - Assign a color for your new project. This will help you identify tasks for this project on the Calendar.
- Description - A description will help your team know more about the Pod details.
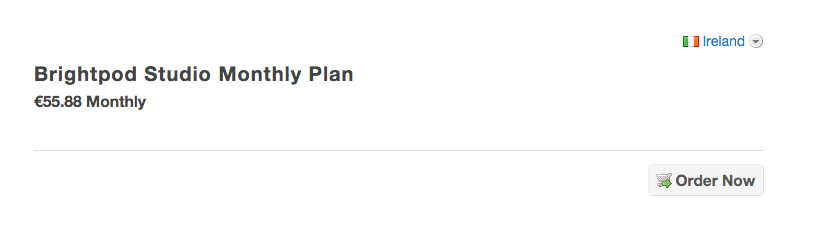
4. Click
Create Pod & Invite People.

5. If you have existing team members, you can select who to invite. If you do not have any team members, you will be brought to the Tasks of your pod.
Learn more about adding existing team members to a pod.
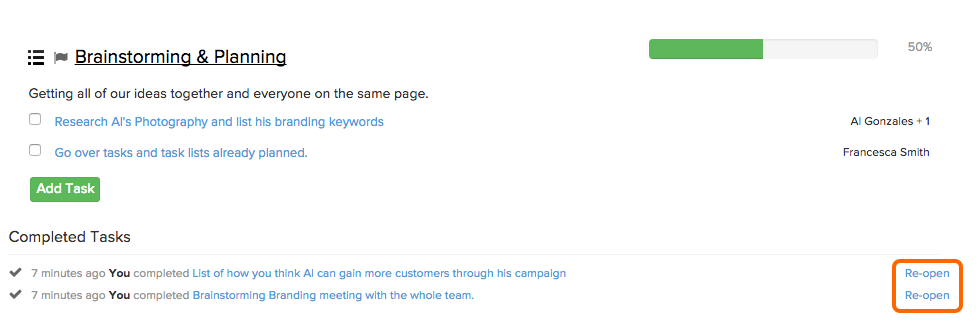
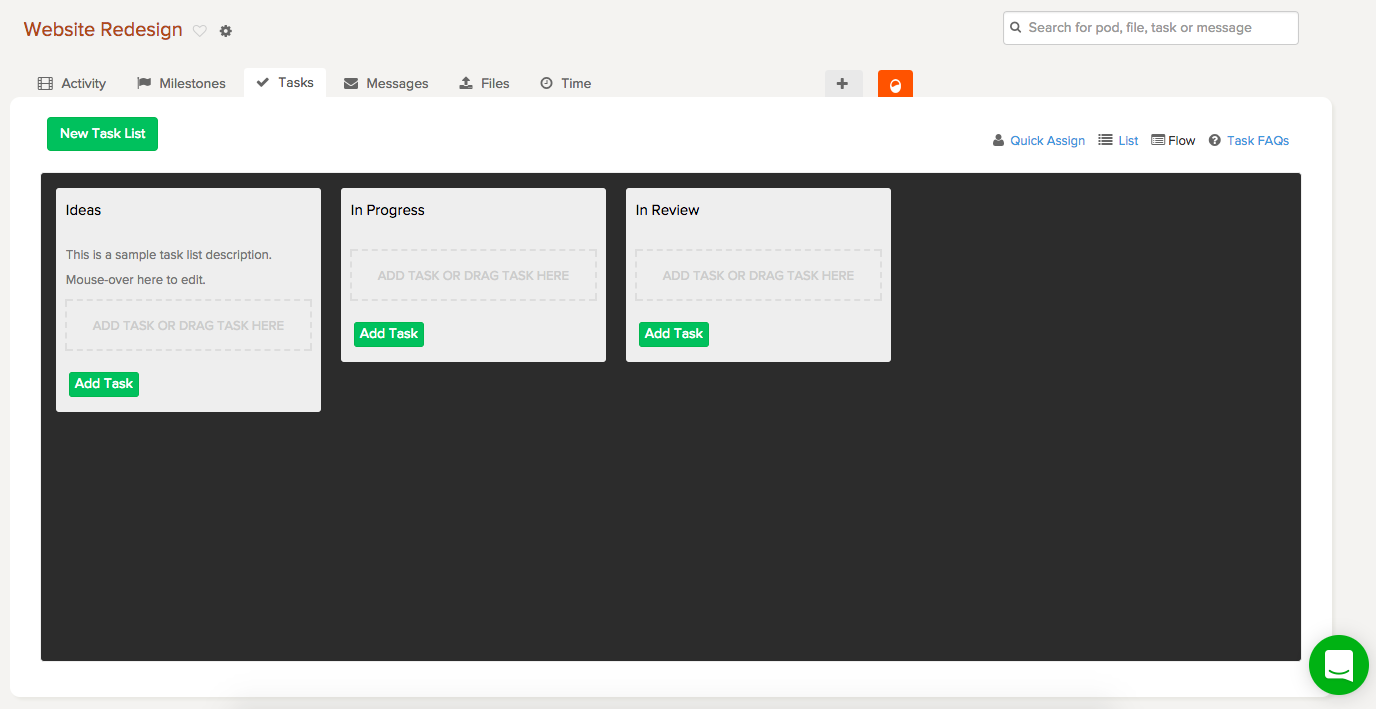
Brightpod gives you 3 default task lists: Ideas, In Progress, and Done. You can remove or edit these later.
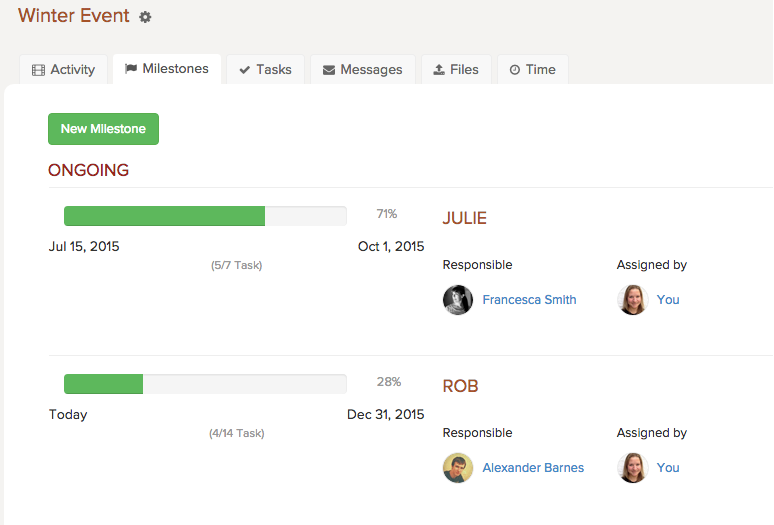
Set goals using milestones
A milestone is a marker or a goal that you want to achieve for a list of tasks. When you create tasks, they are in task lists. A ask list is associated to a milestone.
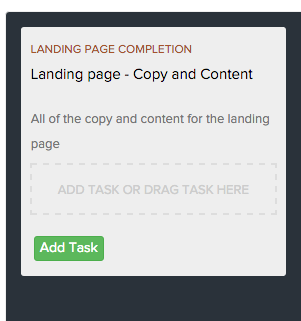
For example, you could have a milestone called
Landing Page Completion and then have tasks associated with that milestone. As you complete your tasks, you will be able to see the progress of your milestone as well.
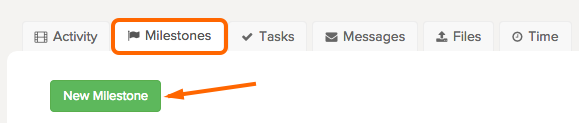
1. Within your pod, go to the
Milestone tab.
2. Click
New Milestone.
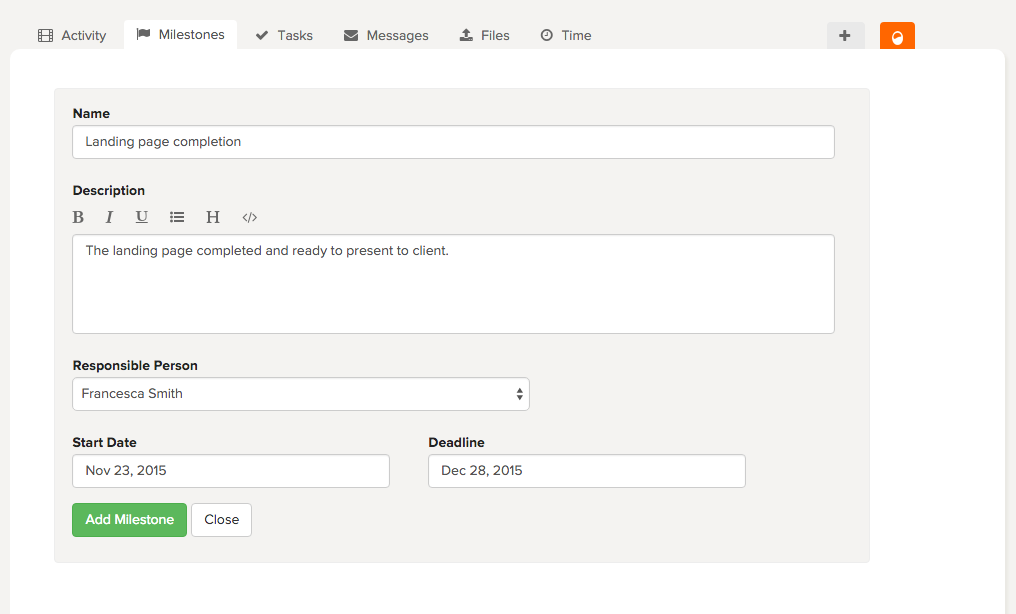
3. This will open up a section so you can enter all of the details of your Milestone:
-
-
- Name
- Description
- Responsible Person
- Start Date
- Deadline
Now that you have a milestone, you can link it to a task list by editing the task list. When tasks within that list are completed, you can see the progress towards completing your milestone.
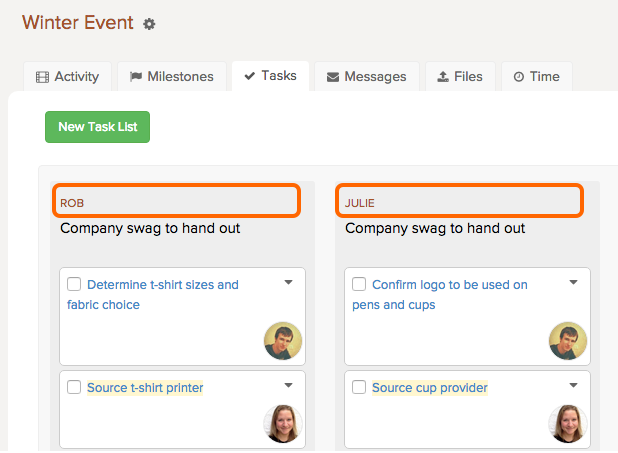
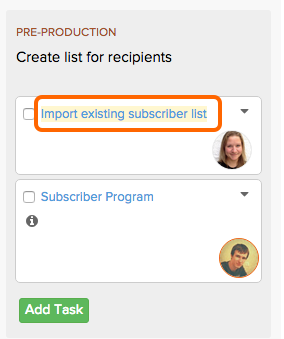
Create task lists and tasks
Task lists are a grouping of individual tasks, like a to-do list. To create a task list,
1. Go to the
Tasks tab and click
New Task List.

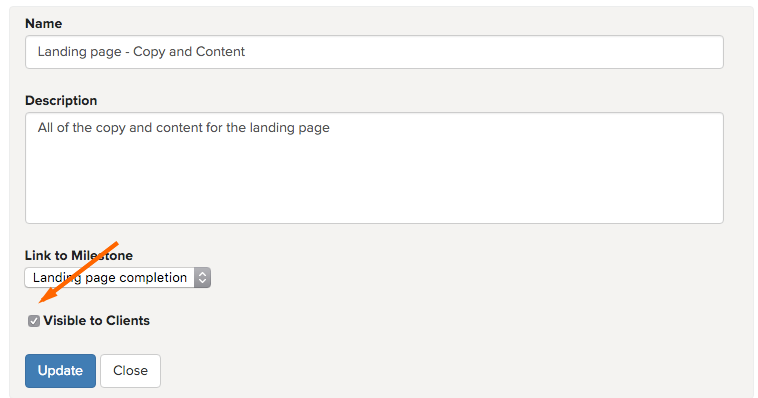
2. Enter the information for your new task list.
Tip: Here is where you can link your task list to a milestone and make it visible to clients.
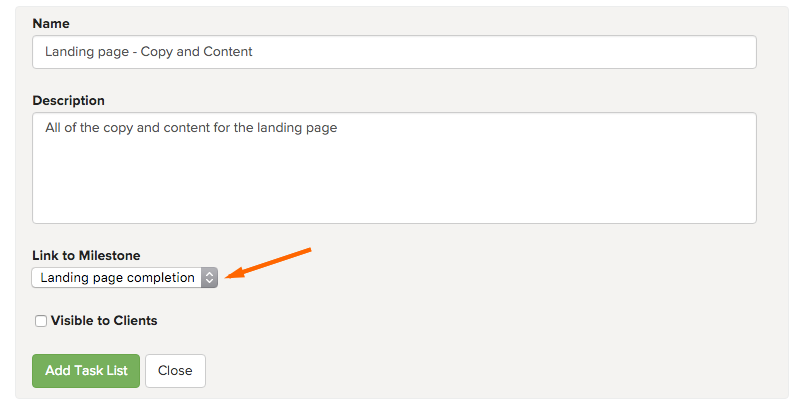
3. Click
Add Task List.
Now that you have your main task list, you can start adding the to-do task items within the list.
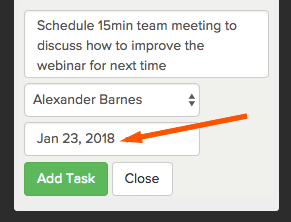
4. Click
Add Task.
5. Enter the title of the task, assign the task, and choose the due date.
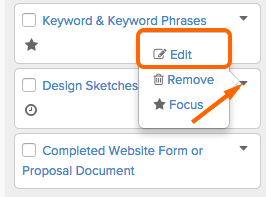
You can edit the due date quickly by clicking the task down arrow and selecting
edit.
 Adding due dates to tasks
 will help you focus on the most important items first.
6. If you want to add more information to the task, click the
task name to open up
task details.
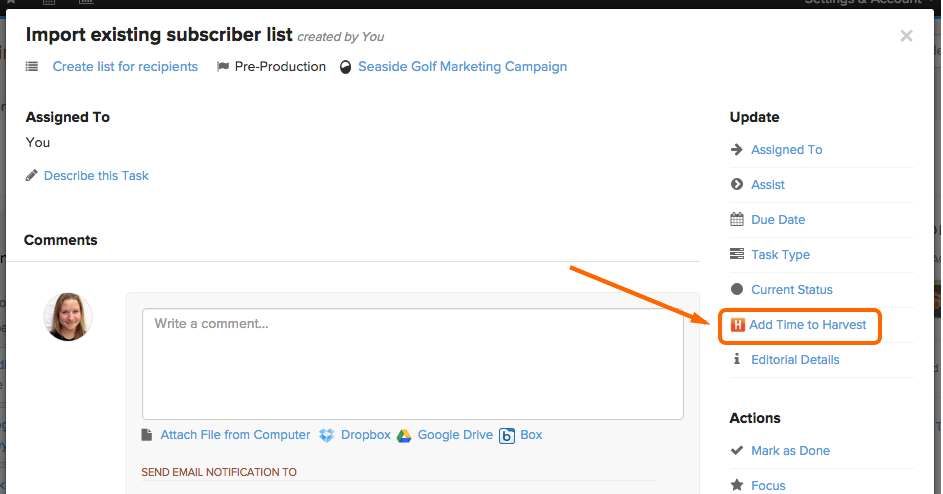
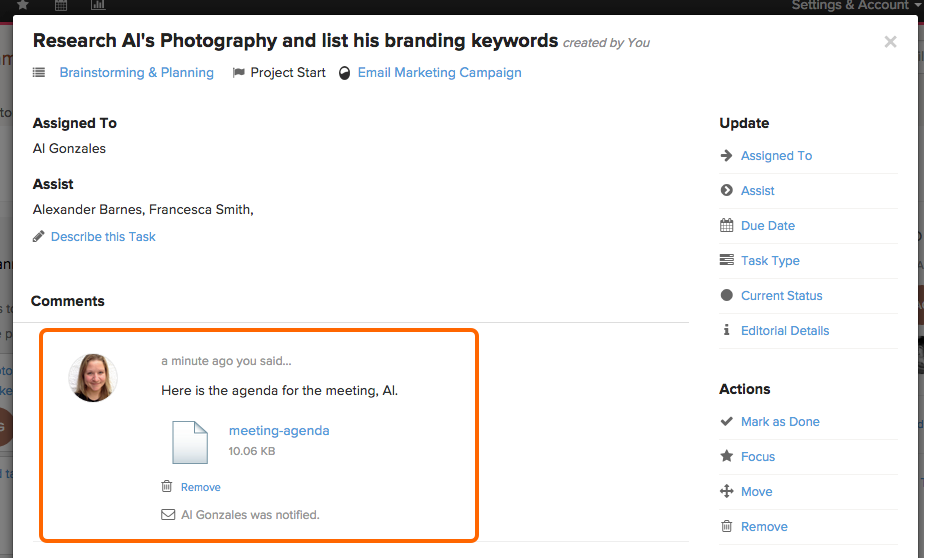
Task details
When you select a task name, it will open up task details. Here, you can add and edit the task title and description, as well as add any comments. You can also view a running history of edits and actions taken on the task under task history, located at the bottom of the details window.
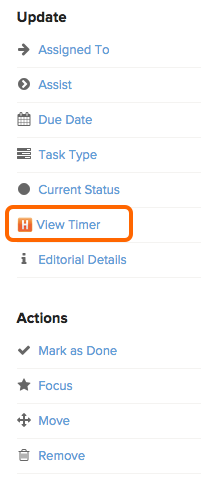
On the right side, you will see options to
update:
-
-
- Assignee - who the task is assigned to.
- Assist - who is assisting on the completion of the task.
- Due date - when the task is due.
- Current status - mark if the task is in progress, waiting for review, etc.
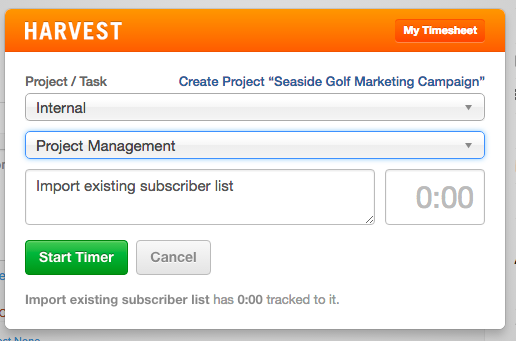
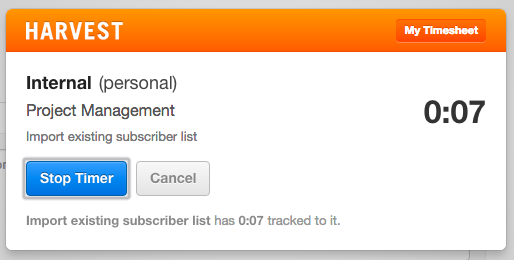
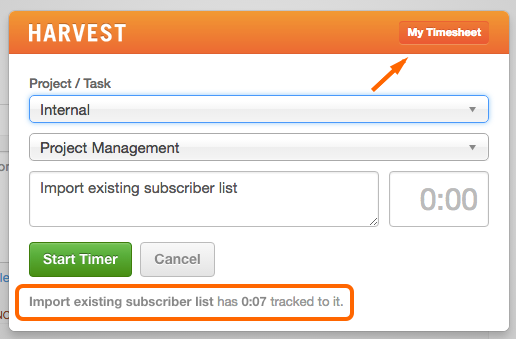
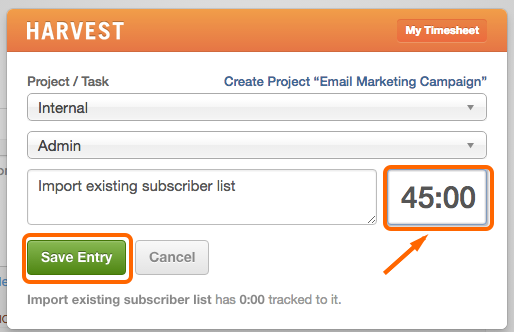
- Time - track any time spent on the task with a timer or manually.
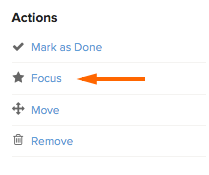
There are also
actions:
-
-
- Mark as done - will archive the task within your task list.
- Focus - Add a star to the task and add it to your Focus page.
- Move - allows you to move the task to another task list in any pod.
- Remove - will archive the task in your pod for 30 days.

Create recurring tasks
Recurring tasks are the tasks that happen on a regular basis. When you mark a task complete, the next task is automatically generated based on the repeating pattern you set up. This will save you time creating the same task on a daily, weekly, monthly, or yearly basis.
To create a recurring task, create a task including a
recurring keyword. Recurring keywords can be 'every Monday', 'every month', 'every week', and more.
See a full list of all recurring keywords.
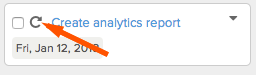
1. Enter the name of your task and choose your keyword. For example, 'Create analytics report' is the task that will recur 'every Friday'.
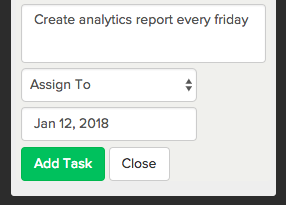
2. The task
due date indicates
when you would like that task to begin. If you have a recurring schedule that requires a specific date, such as every month, the date you choose will be when that task is generated.
If you do not select a due date, Brightpod will automatically choose the next Friday (or next Wednesday, or the next month, etc).
If you want a task to recur on a specific date, you must choose a due date. For example, if you want a task to recur on the 10th of every month, you would enter the task name followed by 'every month' with a due date on the 10th of the month. For example 'create analytics report every month' and set the due date to be the 10th.
4. Click
Add Task or Press shift+enter to save it.
Recurring tasks are indicated by the arrow icon.
Invite team members and clients to your pod
Within your created pod, you can invite team members and clients. If you are creating a pod for the first time, you can invite new members as you create your pod.
Learn more about inviting team members to your pod.
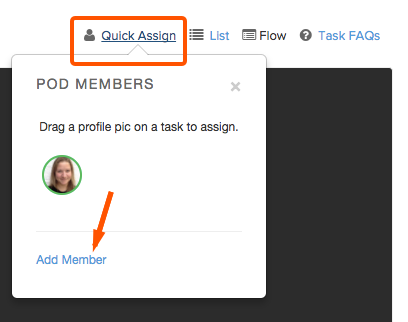
1. On the right side, click
Quick Assign. Select
Add Member.
2. Select the person you want to add to the pod and click
Add member. If you have not added team members or a client to your Brightpod account yet, follow the steps in
Onboarding your team.
Tip: To add a client to your pod, you have to have a client associated to the pod. You will see the option to set this up if you have not yet associated your pod to a client.

Making tasks visible to clients
Team Members may share task lists with Clients using the option
Visible to Clients. When a task list is visible to a client, they are able to see
all activity within that task list, including comments, file uploads on comments, time tracked, due dates, etc.
Clients are able to comment on tasks visible to them as well as create new tasks within task lists. They will also see these tasks on their calendars.
Creating a new visible task list
1. Click
New Task List to create a new task list.
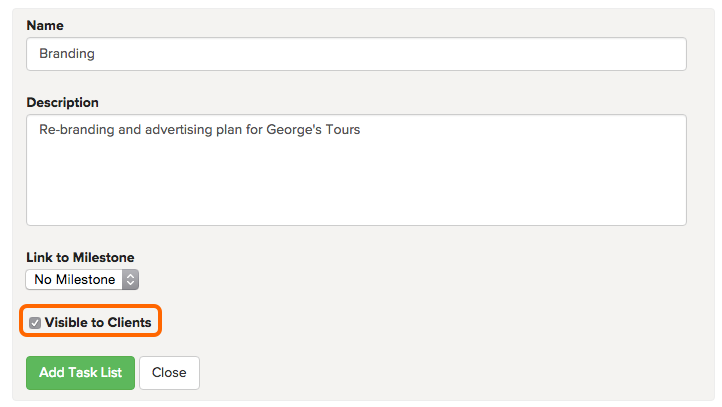
2. Mark the option
Visible to Clients and click
Add Task List.
Making an existing task list visible to a client
If you already have a task list that you want to have visible to a client,
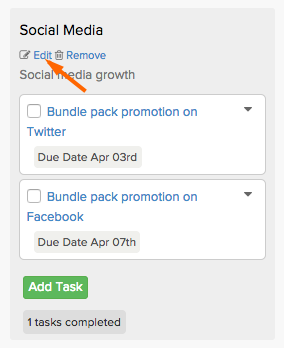
1. Hover over the task list name and click
edit.
2. Click the checkbox beside
Visible to clients.
3. Click
Update.
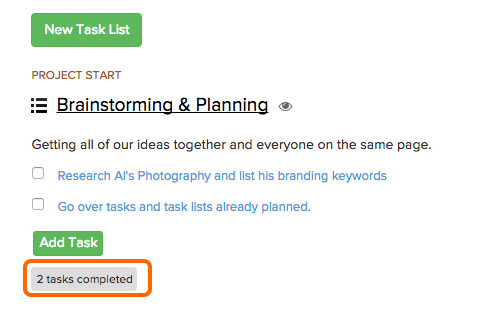
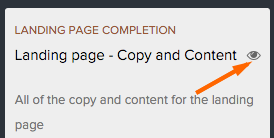
Once the task list is visible to clients, it will have an eye icon beside the task list name.
Assigning and assisting on tasks
Assigning a task to a team member means that they are responsible for the task. Anyone
assisting on a task is helping towards the completion of the task.
When adding a task, you can choose who is responsible for the task by
assigning it to them.
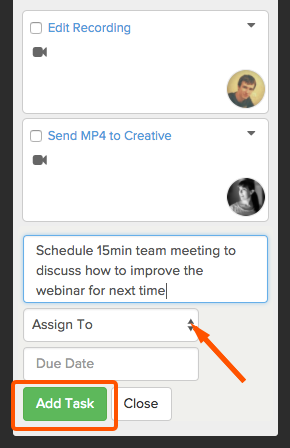
If you don't know who to assign, or the person isn't a part of your team yet, only your name will appear.
Once you have team members invited to the pod, the easiest way to assign a task is through
Quick Assign.
1. On the
Tasks page, click
Quick Assign.
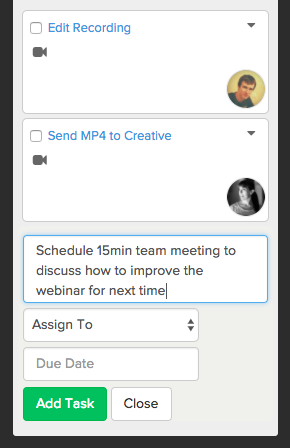
2. Click on the person's photo, hold your mouse down, and drag and drop the photo onto the task.
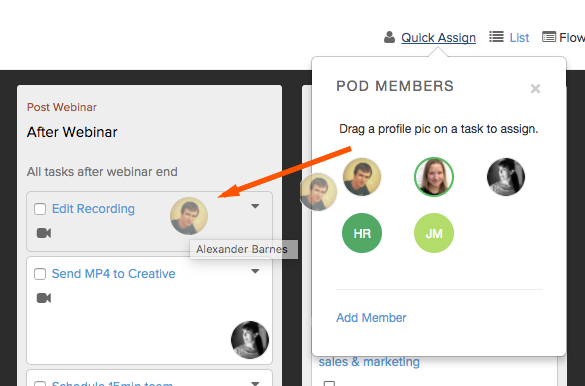
3. Once you drop the photo on the task, the person will be assigned to that task.
The second person you drag and drop onto the task will be assisting.
Tip: You can edit the assignee and assistant in the task details.
Set due dates and priority
Keep track of tasks and timelines using due dates, focus, and the Me page priority feature.
Due Dates
Having due dates for a task is an important way of keeping your team on track. When a task has a due date, you can see when the task is due on Insights, the Calendar, and on the task itself.
When creating a task, you can choose a due date.
If you want to change this later, there are two places:
Click the right down arrow on your task and select
Edit.
Or, select the task name to open task details. On the right side, click
Due date. Remember to click
Update!
 Focus
Focus
Focus
Focus allows you to mark your own tasks to focus on. Each member of your team has their own focus page and can use it like an agenda. Once you focus a task, you can move it around on your focus page to help prioritize your own work.
To focus on a task,
1. Click the task name to open task details.
2. On the right side under actions, click
Focus.
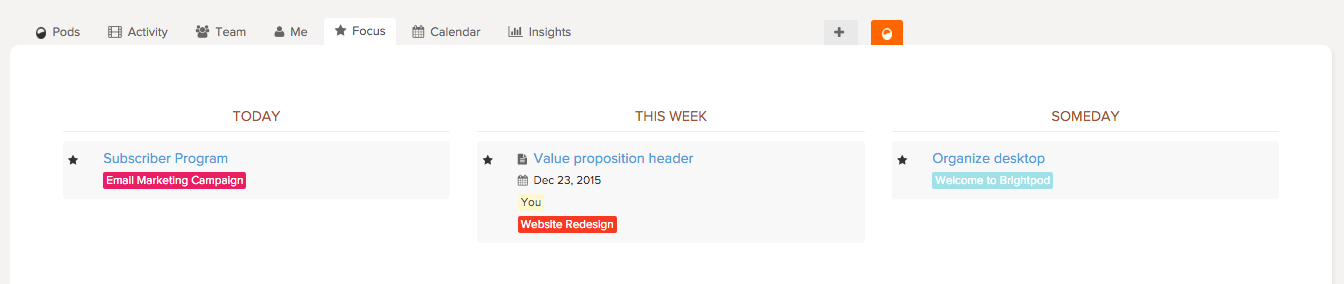
Your focus page can be accessed in the top menu bar.

On the focus page, you can drag and drop your tasks into three sections: Today, this week, and someday.
 Me Page Prioritization
Each team member has their own
Me page.
Administrators can prioritize tasks on their team member's pages and notify them of the changes. Administrators can explore everything this person has done in Brightpod, including Tasks, Messages, Files, recorded Time, and more.
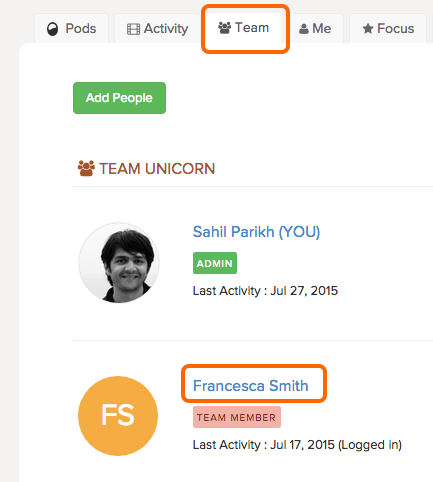
Go to the
Team tab and click on any of the team member’s name. This will take you to their Me page.
To prioritize a task, click and hold down your mouse over a task, and drag it up and down the list. Then, click
Notify.
Communicate effectively with comments and files
Comments
Tasks have a comment section where you can communicate with teammates using rich text,
notifications, and file uploads.
For Tasks and Milestones, you can create more exact descriptions and comment by using
rich text and emojis. Select an icon at the top of the comment or description box to enhance your text. There is:
-
-
- Bold
- Italic
- Underline
- Bullet points
- Header
- Code snippet
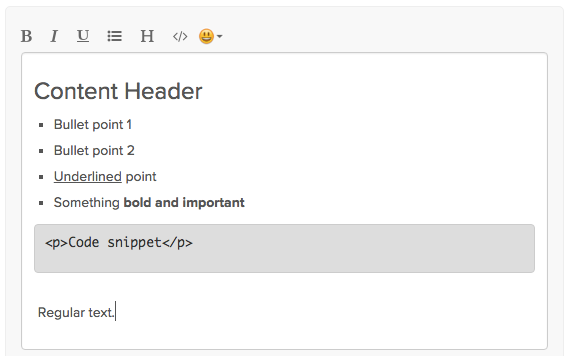
If you do not use any of the options, the text will appear as normal.
When entering a comment, you can choose to
notify teammates.
Select the task name to open up task details. After entering your comment, you will see checkboxes below the comment section and above the submit button, grouped by teammate permission. A few things to note:
- Whoever created the task and/or whoever is assigned will be automatically checked to be notified.
- You are not given an email copy of a comment that you write.
- If you want to notify everyone who was previously notified on a comment, select Previously Notified.
- Freelancers who are not assigned/assisting to the task are not shown as an option to be notified.
- Clients who cannot view the task list (or the tasks inside) are not shown as an option to be notified.

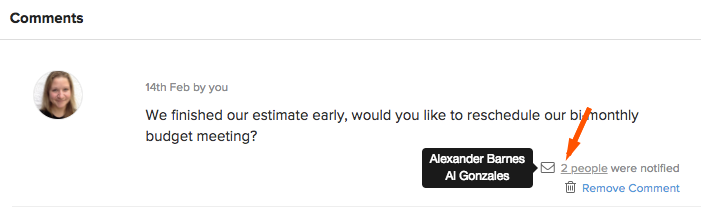
Once you click
Add Comment, an email notification will be sent to your teammates.
The next time you open the task details,
hover your mouse over the number of people to see who was notified. When writing another comment, the creator of the task and the person assigned will be automatically checked. Click
Previously Notified to automatically check anyone else who was notified.
 Files
Files
When adding a file to a comment, you can attach a file from your computer, Dropbox, Google Drive, or Box.
1. To upload a file from your computer, click
Attach file from computer. You will then see the option to
Select Files.
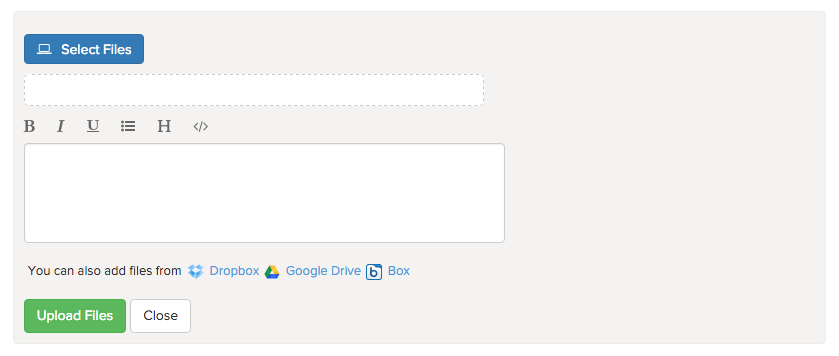
2. When ready, click
Upload Files.
After uploading a file, everyone who is a part of your pod will be able to see the uploaded file.
Tip: Clients are able to see files that are uploaded to tasks in task lists that are marked as
Visible to Client.
Once you have uploaded a file to a comment, it will also appear on the
Files page for easy access.