
Any workflow you use (an existing workflow or one from a pod you previously created), you can save them as a Custom Workflow.
Let’s say you want to modify our Email Marketing Template Workflow for your business.
1. Click the orange pod and select New Pod.

2. Click Create a Pod from a Workflow.
3. Under Email Marketing Template, click Apply Workflow.

4. Enter the information for your new email marketing campaign pod.
5. Click Create pod & invite people.

6. On the Team invite screen, you will see all of your account’s administrators, team members, and freelancers. Select a checkbox beside their name to add them into your pod, or you can wait. You can also add new team members to the pod.

7. Click Add People to this Pod.
8. Modify the milestones, tasks (any task types associated to the tasks), task lists, and people invited within this pod to suit your workflow.
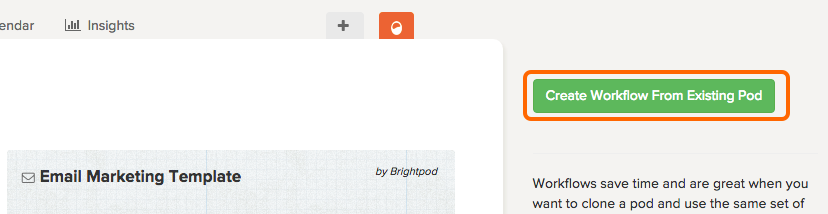
9. Once you are finished making all of the modifications for your workflow, select the orange pod and click Workflows.

10. On the right hand side, click the button Create Workflow from Existing Pod.
11. Select the Pod name that has the workflow you want to save and enter a name for the workflow.

The next time you add a new pod, or view Workflows, you can select this modified workflow from the bottom of the page under Your Custom Workflows.

Watch how to create a workflow from an existing pod